
One of the most memorial moments we shared at Anderson’s Lodge Tom’s Landing Outpost Cabin was the shore lunch (Well actually dinner if you want to get technical) that we prepared right at the cottage. The walleye were caught right off our main dock!
Back when I owned Chaudière Lodge, shore lunches were the highlight for most of my guests during their visit and something that I loved to do! It got me out of the office into the wilderness and gave me the ability to share an outstanding and unique experience with people from around the world, one that they will always remember. It was a skill I learned from Billy Commanda, one of my guides, and he is a master shore lunch artist, to say the least. During my tenure at Chaudière, my guests would always ask me “how do you make the dredge/batter and how can I do a shore lunch myself?” Well, I finally have the platform and opportunity to share this information with all of you, so hold on!!!
First, you need your main ingredients; Fish, Chaudière dry dredge/batter, Chaudière tartar sauce, fresh-cut fries, and maple flavoured canned beans.
THE SHORE LUNCH
Typically shore lunches consist of walleye, one of the most delicious tasting fish on the planet, but don’t get hung up on the walleye thing. When I was lucky enough to fill in for one of my guides, I always got a shore lunch done, but there were times we didn’t catch walleye. I remember one wonderful shore lunch, on a sand beach on the shore of one of the goose Islands in the middle of Lake Nipissing. We ate perch and freshwater drum. YES, I said freshwater drum! Sure, it wasn’t walleye, but it tasted ok just the same. You do what ya gotta do to get shore lunch folks!
So, in order, I will list my favourite fish to eat at shore lunch:
- Northern Pike
- Walleye
- Perch
- Small Mouth Bass
and I will even throw in the freshwater drum (Sheep’s Head!) But there are so many species that are great to eat and my choices are based on what was available on the Upper French River.
But enough about the fish, let’s go over everything that you need to successfully pull off a traditional shore lunch.
You will need to make the famous Chaudière Lodge Dry Dredge recipe to coat your fillets:
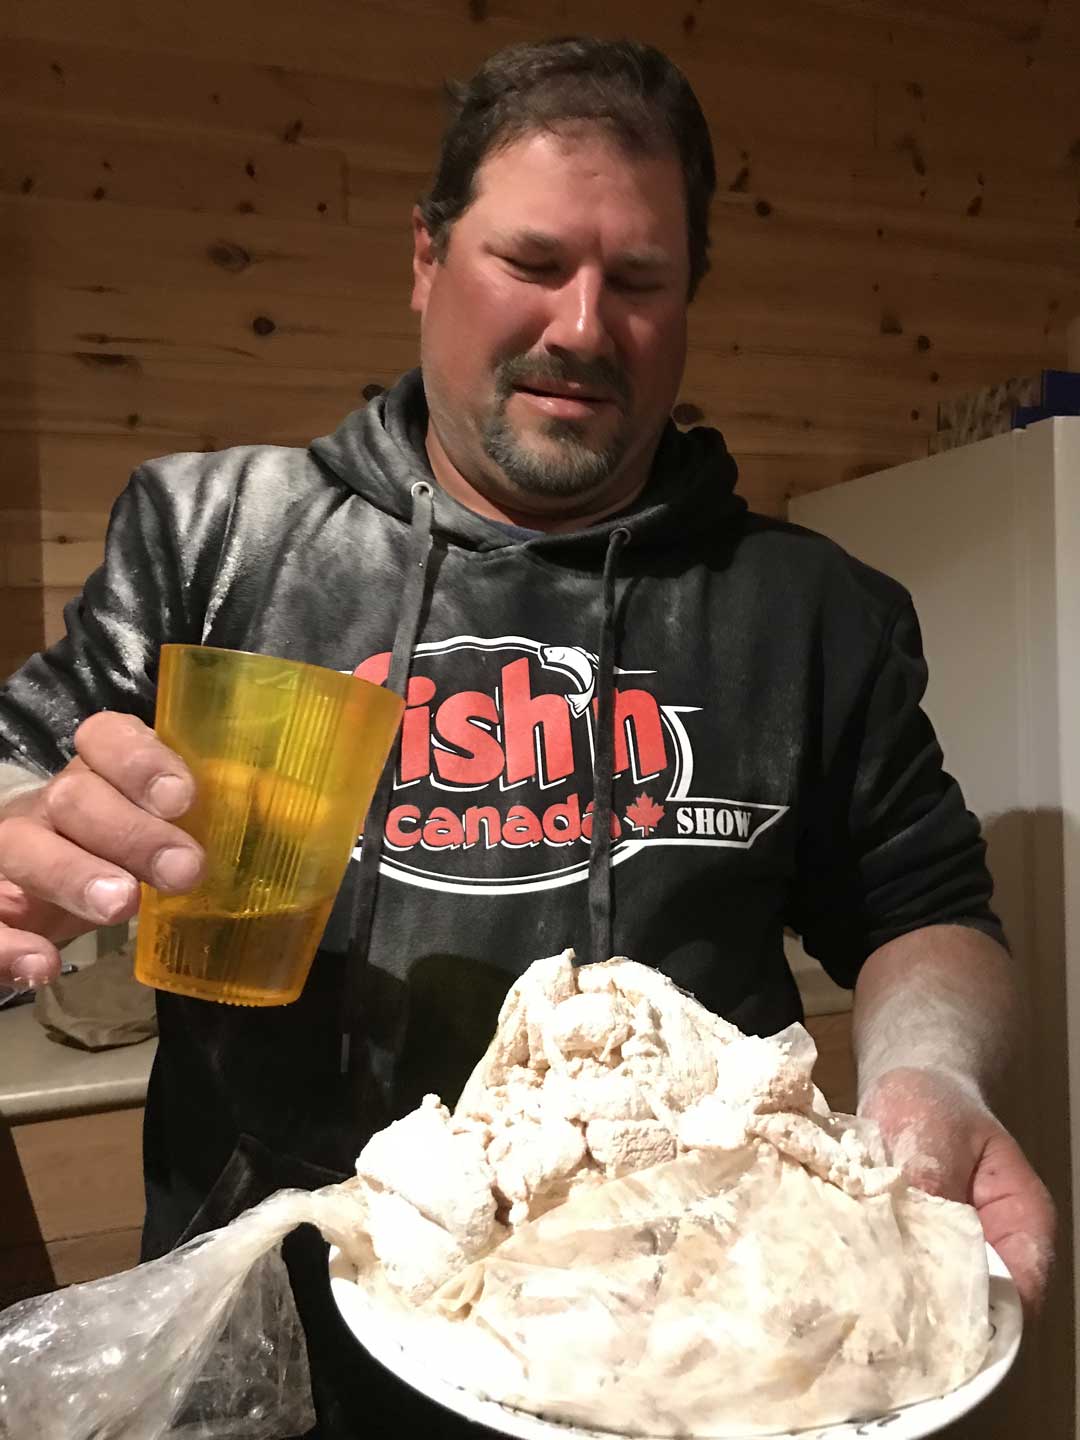
- You need a sturdy mid to large size plastic bag (about bread bag size), but with the strength of a freezer bag, or you will end up like me on that last shoot!
- Add flour; I usually fill the bag to a little less than a third full (If you want to go gluten-free, use an alternative flour like coconut flour, etc.)
- Add paprika; toss in just enough of this wonderful spice to slightly change your flour from white to the tiniest shade of pink.
- Add salt; about 2 tablespoons.
- Add Lawry’s Seasoned Salt; again, I put enough in to slightly change the colour of your base dredge.
- Add Garlic powder; again, about 2 tablespoons.
And there you have it, Chaudière Lodge’s famous fish dredge recipe! The great thing about this recipe is, you are not restricted to amounts or even ingredients. Add, subtract, and make it your own, lord knows mine is different every time. But keep it dry; it is far easier to transport on the water, and doesn’t foul your cooking oil as quickly as a liquid batter.
Next, the Chaudière Tartar Sauce:
Mix mayo, green relish, salt, pepper, and dill pickles chopped up fine. (Tangy dill relish is also a good alternative for actual pickles). The pickles should be almost 1/4 the volume of your mixture. (Note: Put the container of tartar into your drink cooler, it needs to stay cool).
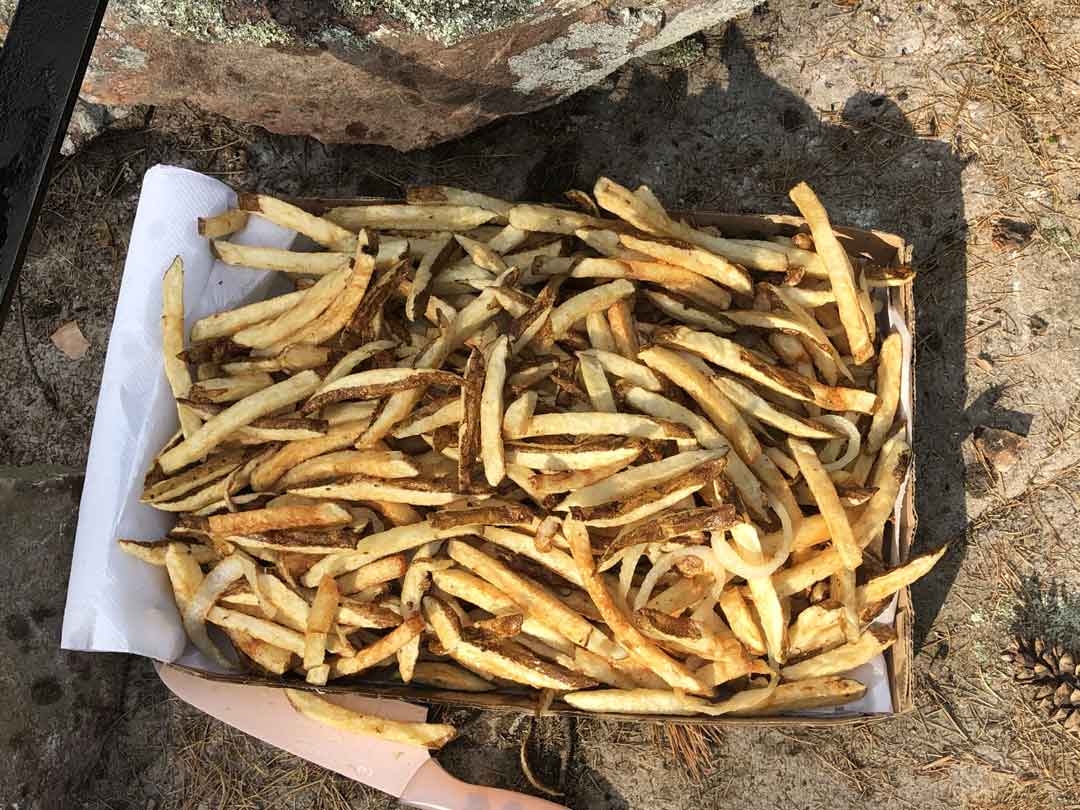
Now, your fresh cut fries:
At Chaudière lodge, we always used large Downey Farm Potatoes. We put them through the chipper and straight into a pail of cold water, secured the lid, and they were ready for transport. Don’t blanch them, cook them straight from raw. One large handful per person is a good measure.
And last, but not least, the beans:
We can’t forget the beans! Any brand of canned beans will do, as long as they are maple flavoured; it’s not the same if they are not maple!
FULL PACKING LIST AND TOOLS
I love lists, so I have built a packing list for you to copy and print if you want. Once you get a couple of shore lunches under your belt, you can add to it, putting your own twist on it. (Like when we did fresh doughnuts in the pan for the kids, which blew their minds!)
- 1 sharp filet knife
- 1 bag of dredge/batter
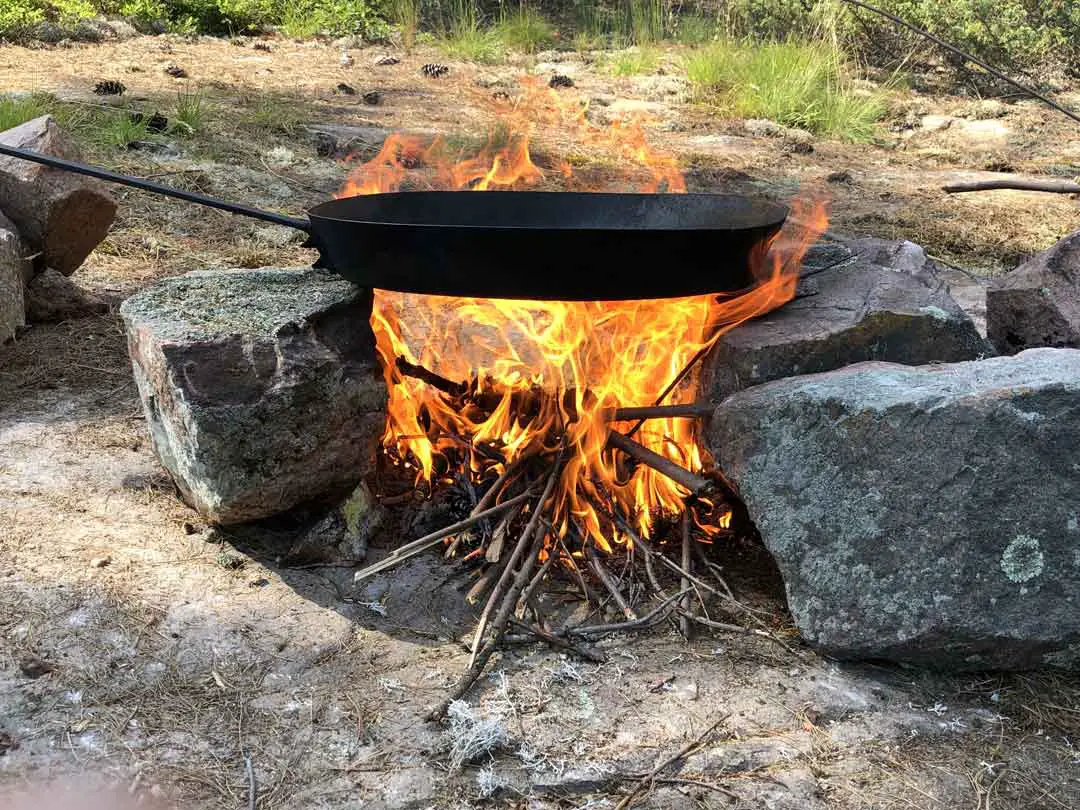
- 1 big cast or steel frying pan. This can also be purchased at some of the northern grocery stores, as well as outdoor retailers. (Note: I am walking you through a traditional shore lunch using an open fire, but you may also use a propane burner and pan if you are in a fire ban situation, or in your back yard. You can even use a deep fryer in your house).
- Optional: Grill from a stove or BBQ
- A lighter or matches
- Cooking oil
- 1 pail of fresh-cut fries
- 2 spider utensils (large mesh spoon used to retrieve your fries out of the hot oil)
- 1 set of tongs and/or a BBQ fork to move, flip and remove your fillets
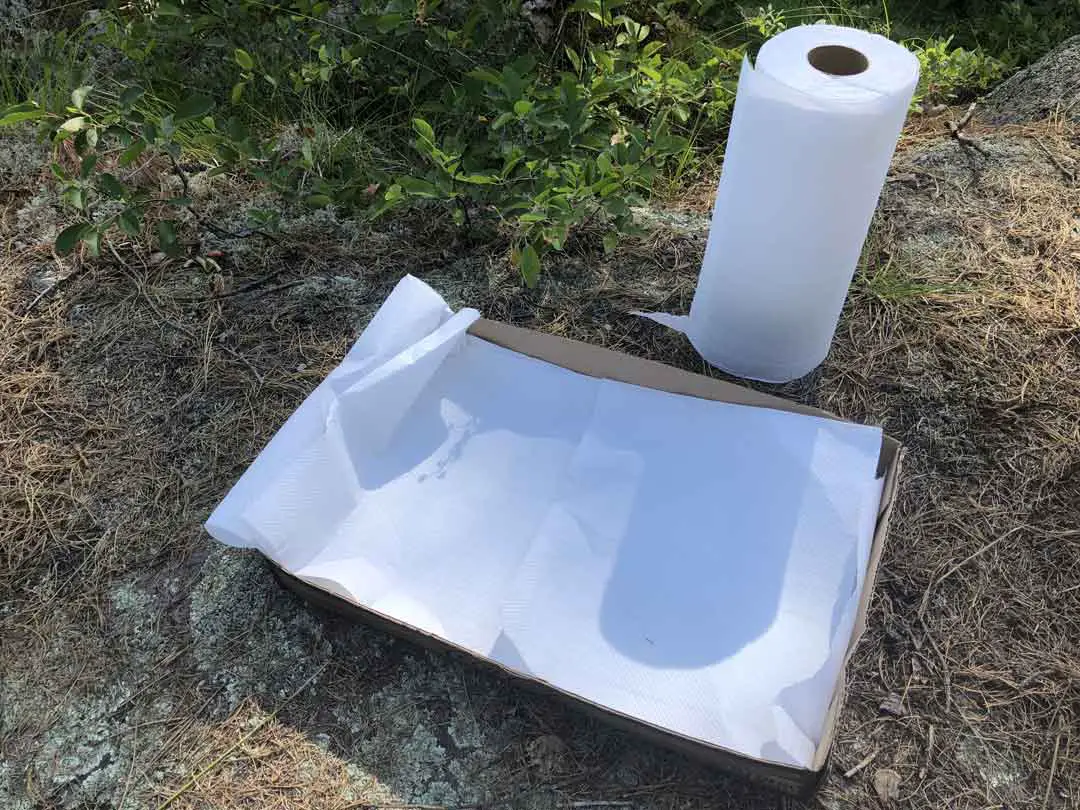
- 1 cardboard tray (ex. 24 pop can base)
- A roll of paper towel
- 1 large onion per 4 people
- 1 can of beans for every 4 people
- 1 can opener and a tablespoon to serve the beans from the can
- A plate and fork per person (butter knives are optional, but I find they don’t get used)
- 2 lemons
- A container of tartar sauce
- Ketchup, vinegar, salt and pepper
- 1 black garbage bag
PREPARATION
- Use the filet knife to filet your fish boneless–northern pike especially–nothing turns your guests off faster than perfectly cooked fish, filled with bones! Wash them with fresh water, be it from a tap, or in a small net in the lake or river.
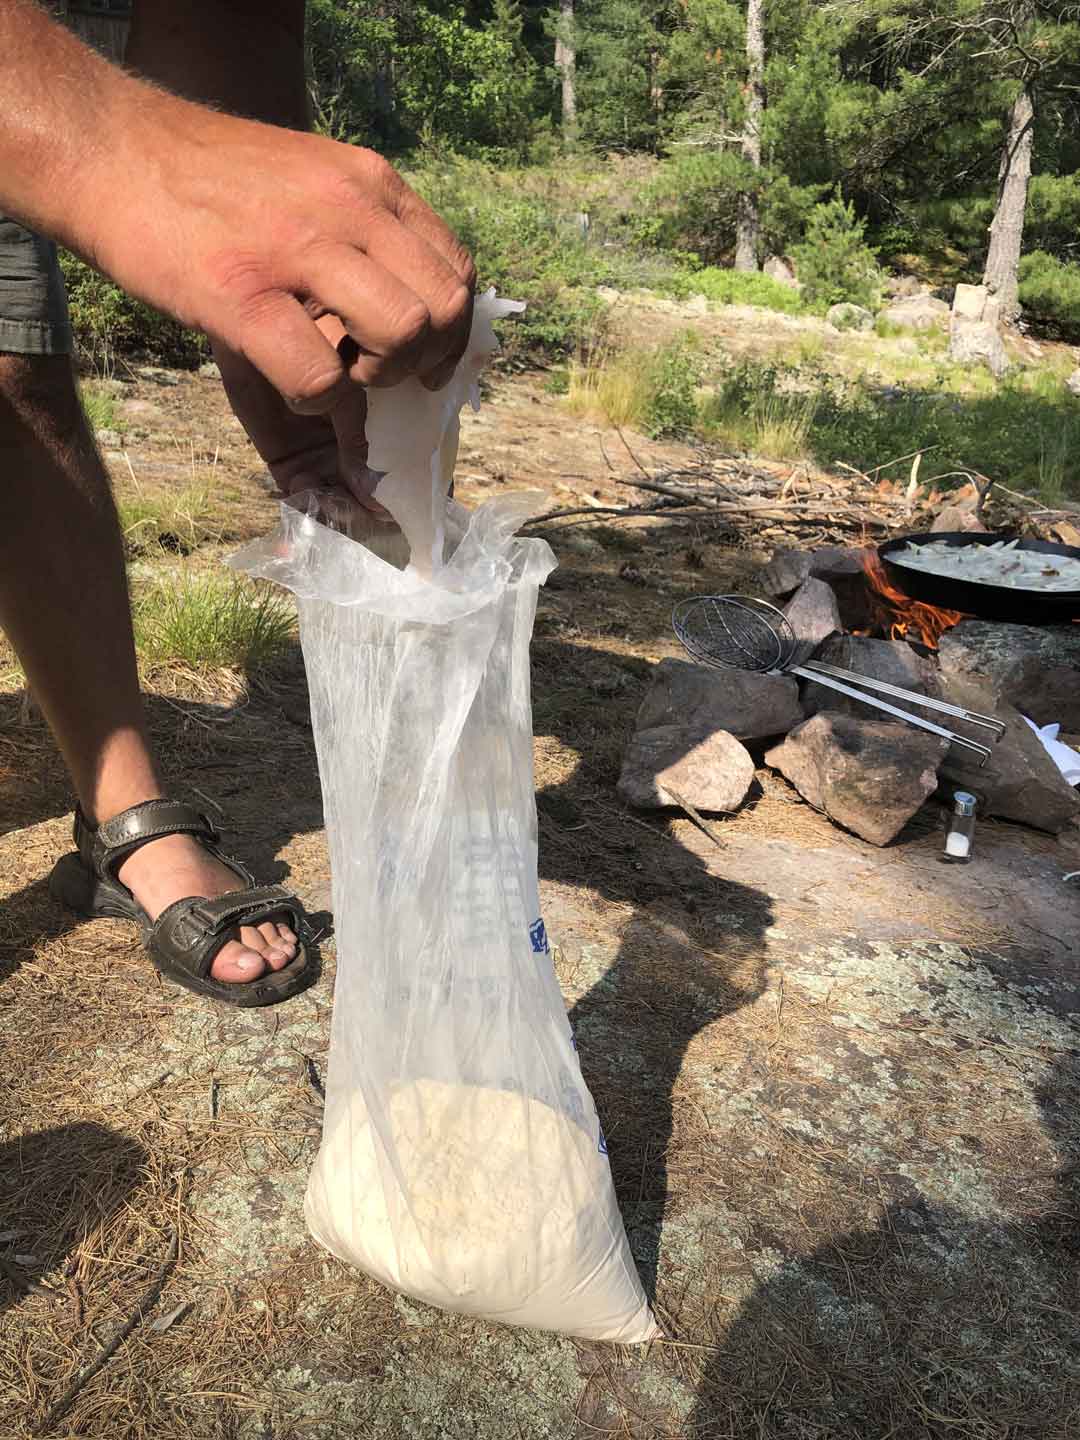
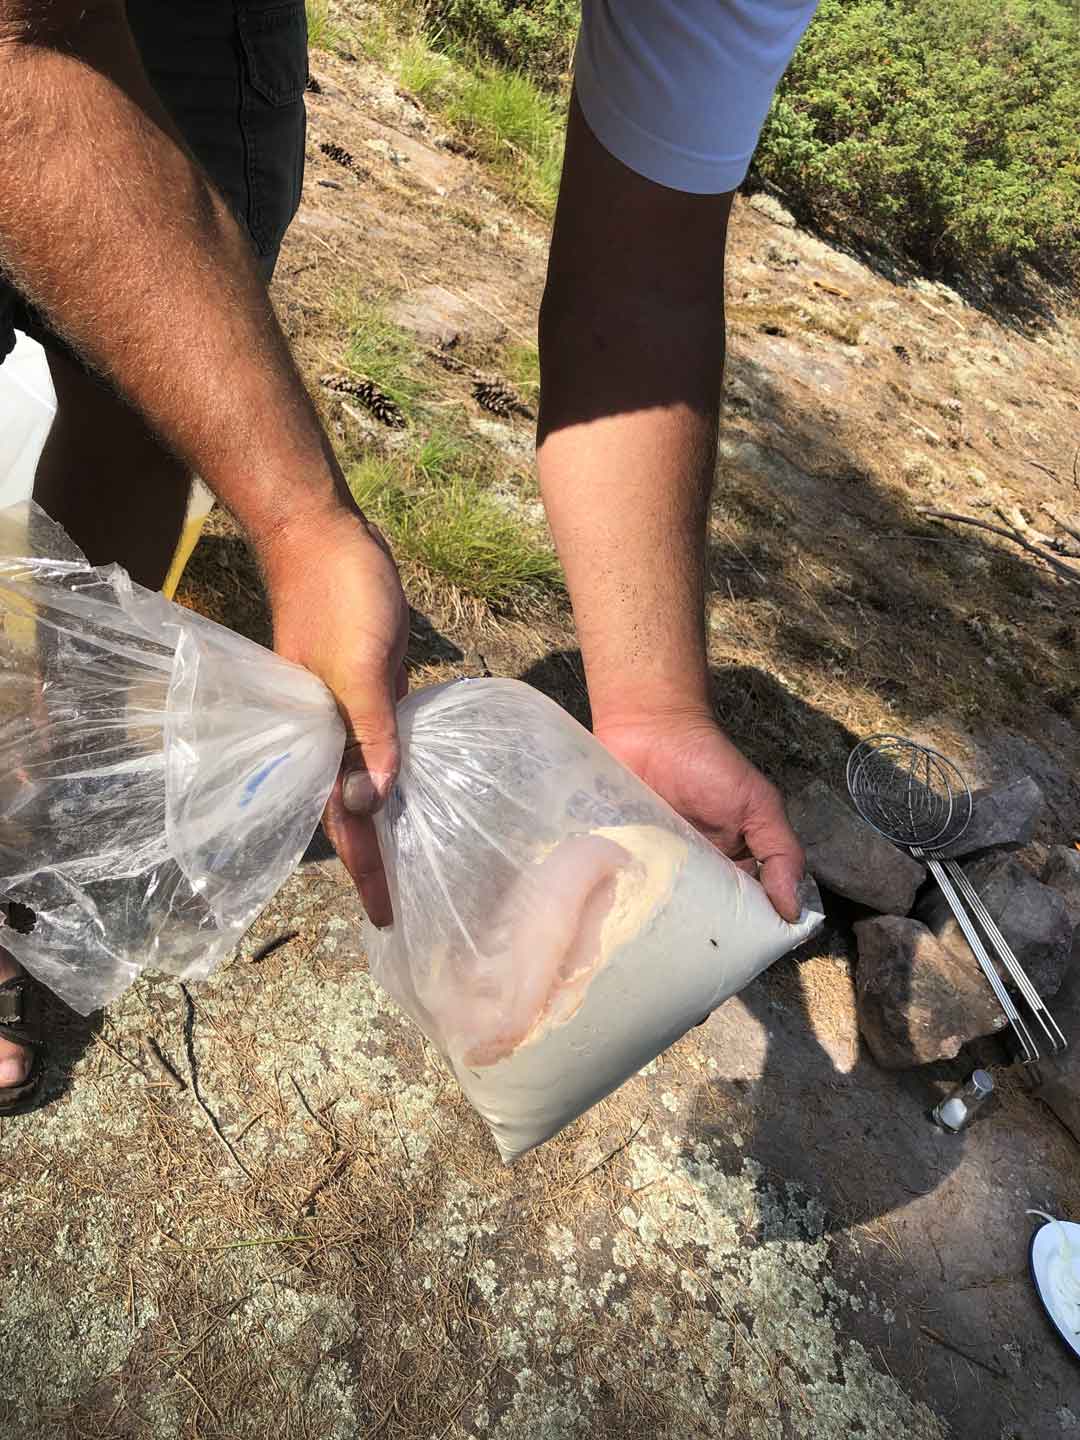
- Take your moist boneless fillets and drop them in your bag of dredge; the bag should be no more than just over half full. Now open the bag wide at the top to allow air to go into it, then close it at the top and twist it tight. (This traps air inside the bag, so the bottom half is fish and dredge and the top half is air). Begin to shake, turn the top to bottom, move around, and do a wee jig for your fans! As you can see, the air space in the bag lets the moist fillets break apart and become evenly coated.
CLEAN UP TIME
Finally, clean up and leave no footprint.
At the lodge, we used and maintained about a half dozen sites on a constant basis, so we would stockpile dry wood there and leave our pits intact. (Note: a great trick for disposing of your used oil is to pour it on a nice sized stockpile of wood for your next cooking fire, it will burn even when it is wet). But, if you do not own the property, or will not be using it again, you need to clean up your shore lunch area and make it look like you were never there. Don’t fret, it is a pretty simple process.
- First, dispose of your oil by putting it on some punky or spongy wood. Also, pouring the oil into the fire and burning it works too, but this takes some time, which is great if you’re camping and you are going to be there for several hours or days. You can also let it cool and carry it out, but you will need to wait a substantial period of time for it to cool down enough to put into a container (unless you have a heat resistant one, BE CAREFUL!). And lastly, you can dig a small hole in topsoil in the bush and dispose of your oil there.
- Put out the fire! Please take extra care with this process, we lose countless hectares of forest and property every year as a result of reckless use of fire. Use your fry bucket/pail to put ample amounts of water on to the cooking fire, then take a stick and break apart the coals and pour more water on.
- Tear down the wall, but be careful, the rocks could still be hot!
- Gather up any garbage and load into the boat.\
Be proud of yourself! You have just created one of the most amazing culinary experiences and memories for you and your guests. They will not be able to wait to do it again and share their experience with someone else!