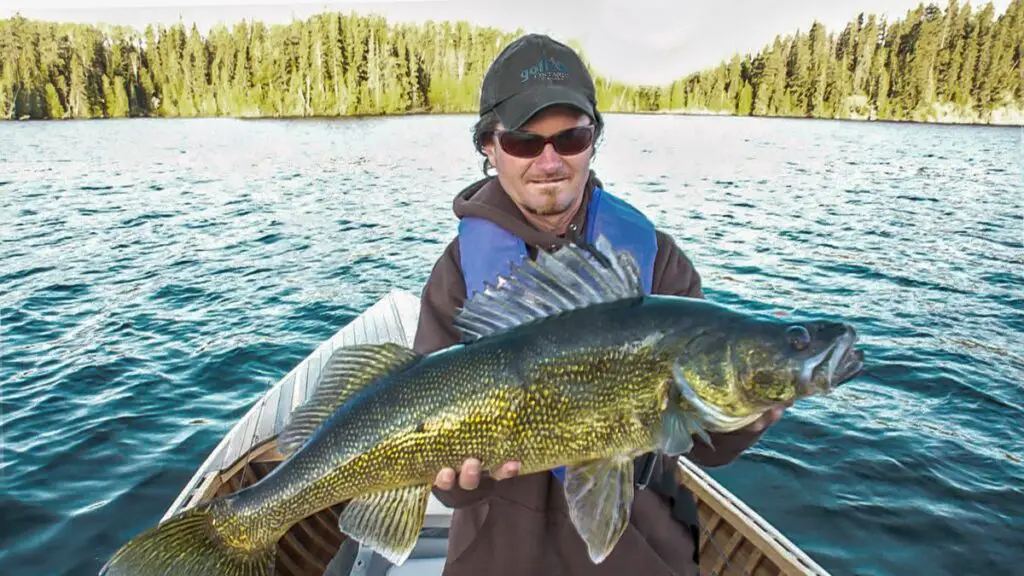
Let me start this article by saying the following techniques can be used for a variety of fish species. I’m using Walleye as my main subject fish because of its popularity and the effectiveness that the jigging technique has on that particular fish species.
The fishing “jig” is described online as:
“Jigging is the practice of fishing with a jig, a type of fishing lure. A jig consists of a lead sinker with a hook moulded into it and usually covered by a soft body to attract fish. Jigs are intended to create a jerky, vertical motion, as opposed to spinnerbaits, which move through the water horizontally.”
During my youth, I couldn’t understand what the hype about these stupid lures called jigs was all about. It’s a ball of lead with some rough hair sticking out behind it to cover the hook. Why would I use that garbage when I had so much better in my tackle box?
Wow, was I naive.
There was also a day in my younger years (after I discovered that jigs do work) that I felt the term “jigging” was misleading and that the jig was just another style of sinker, if you will, allowing you to get your live bait to the bottom and keep it pretty much glued there.
Obviously, still naive.
Today, however, all my naivety is out the door and jigs are the real deal.
In modern fishing times, the jig family of lures has not only held its own against all the new-fangled techy baits, but it could be considered the leader of the pack as an all-round fish producer.
Here are 5 of my favourite ways to use the jig during the open water Walleye season.
VERTICAL JIGGING
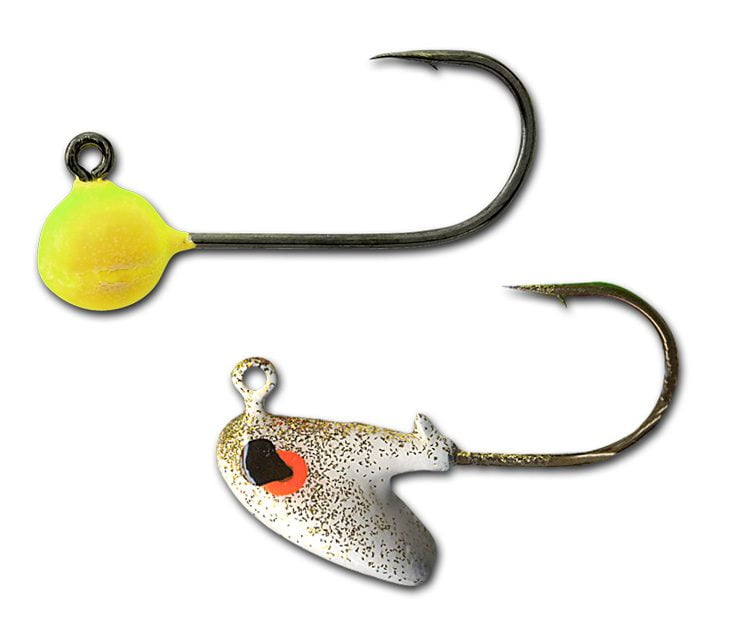
This is as close to the term jigging as one can get. Whether with a lead head jig, jigging spoon, or an ice fishing jig, vertical jigging is exactly how it sounds.
First, you let your jig drop to the bottom. Engage the spool and reel in line, allowing your rod tip to follow the line towards the water. I usually stop when the tip is about 1 ½ to 2 feet off the bottom. I engage the reel and start.
For a lead head jig with live bait, I slowly work it up and down, all while hitting the bottom. This is as slow a jigging method as there is. Often I will just hover the bait 6” or so off the bottom and just quiver it with the rod tip. I’ve seen days when the Walleye will be all over your jig and meat, and others when they will barely touch Mother Nature’s offering (which still blows my mind).
If things are really slow, dragging a jig and live bait is often the only way to catch fish. I’ve seen days when the more you lift your jig off of the bottom, the less you will catch. Although this isn’t considered jigging, it’s still done with a jig.
Ang and I do this often with tube jigs; we simply call it “dragging.”
JIGGING SPOONS & ICE JIGS BELOW THE BOAT
For jigging spoons and ice fishing jigs, you want to impart some “jigging” action. You’ll have to play with cadence and rhythm, length of “up-pulls” etc., but when you get on to it, it’s one of the most fun of any jigging method. My #1 key to this method is to make sure my bait hits bottom on about 90% of my drops. Jig the bait up off the bottom and let it fall back to the bottom, allowing it to sit there for a couple of seconds and then repeat.
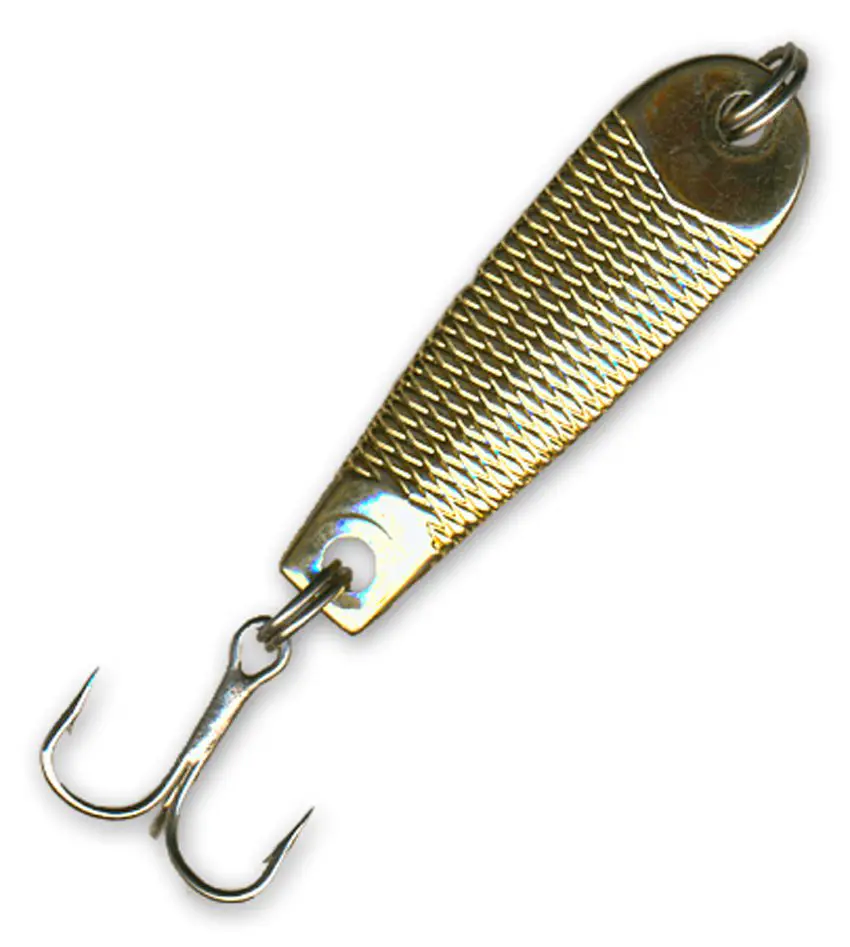
I have caught so many Walleye and Smallmouth Bass like this, that it has sunk well in.
LIFTING A JIG
This method (and all the remaining) pertains to casting a jig and retrieving it back vs. directly under your rod. I look at presenting a jig in the casting/retrieving format as a “slow-fast-slow” system. Early in the year, from opening day until the water temperature hits the 60s, I work my jig somewhat slowly. Through the summer, I accelerate things immensely. Then in fall, it is time to slow down again. Remember, there are always exceptions to any rule, and these are just my basic guidelines to start.
So, this “lifting” technique is useful in the cold-water periods of spring and fall.
Cast out a jig with your bait of choice on (could be a live minnow or a smaller fluke, shad or minnow-style plastic). Make sure it hits bottom. Engage your reel (spinning is best), reel your rod tip down to about the 2 o’clock to 2:30 position, and lift the jig with a nice medium/slow pull, stopping the rod about the 12:30 to 1:00 position. This is the top of the stroke, and in the cold, I like to keep a tight line after stopping at the top position. This allows the jig to fall at a slow rate vs. a free fall on slack line. It will fall downward and towards you, that’s okay. Ultimately, it will hit the bottom of the water-body. If a fish is around and somewhat hungry, it will hit.
Continue this all the way to the boat, always watching your line and feeling for a strike.
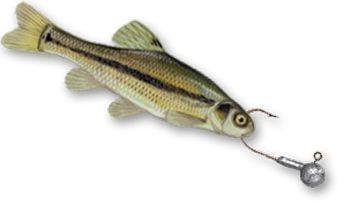
As an FYI on jig size, check out this piece by Gord Pyzer.
POPPING A JIG
In my “slow-fast-slow” world, this is in the fast section and should be used in the summer. By summer, the Walleye have a much higher metabolism and are ready to rock and roll. (As a side note, Walleye are extremely fast swimmers. I know we have all, at one time or another, thought that Walleye were slow and lethargic, but no sir/ma’am. They’re one of the quickest in all the lake!)
For this “Pop” retrieve, once again cast out your ¼ to 3/8-ounce jig and plastic bait. Don’t use live bait here as it will more than likely rip off—and quite frankly, you don’t need it. Once the bait hits bottom, use a quick snap or pop to get the bait up off the bottom and then let it fall on a slack line. Here, less is better. Don’t use your entire shoulder, forearm and wrist for the pop; try using just your wrist if you can. You want the bait to snap off the bottom quickly, but you don’t need the jig to travel very far (I hope I’m explaining this well enough because it’s critical). Do this all the way to the boat. If you are young, energetic, and have power and cardio to burn, you can pop the jig two times, getting the bait even higher off the bottom. Either way, one pop or two will work, play around with it. This is all about the trigger effect.
Sometimes you’ll feel the bite, but often you won’t. It will be as the jig hits bottom, and you will simply feel or hit the fish on your next pop.

A fluke style bait is excellent here. There are tons to choose from (see below). Try for something between 3 ¾” to 5”. Pretty much any colour will work here, and it pays to experiment. That said, natural patterns like shad, perch or minnow, as well as chartreuse and or white, are all can’t-miss colours.
Here are a few bait suggestions:
RIPPING A JIG
As I stated in the above section, you best be young, tough, have great joints and have a total warfare attitude with this one. For you older fellers that are pissy with me for saying this right about now, I’m just playing with you. Go ahead and rip away—but leave some strength in your beer hand for the end-of-the-day cold one.
The baits I mostly use here are bucktail jigs. A 6’6” to 7’ spinning rod with a medium action and braided line is my choice here. Some will argue rod actions and to each their own—whatever works for you.
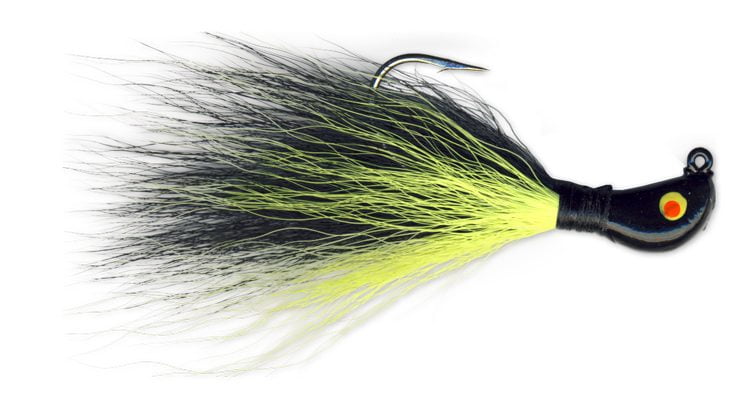
With a 3/8 to ½ ounce banana head-shaped bucktail, ripping is done by casting the jig directly into a weed bed. You are not trying to fish the edge here; you’re fishing in the actual weeds. A specific ripping-in-weeds bucktail does not have a weed guard, but that’s okay. The technique remarkably frees the jig from weeds for most retrieves.
Once the jig hits bottom, use an extremely sharp and again quick rip, snap or pop to pull the jig into and through the weeds. Let it fall on a slack line. This gets the jig back to the bottom. If you were to keep your line taut or even tight on the drop, the jig won’t freefall straight down but will hang up in the weed stems or leaves. Although this may be effective if the fish are sitting high in the weeds, this technique works much better when the jig hits bottom.
Keep this retrieve up until your jig is out of the weedbed and cast to a new spot.
Again, you may not feel that famous Walleye tap when it hits your jig. More than likely, you’ll be ready for your next rip and then will be setting into a fish.
If you haven’t rip-jigged a weedbed for Walleye before, the first time you try it, you will conclude that I’m nuts and should be institutionalized. I get that. I was the same way when I first tried. However, once you smack into that first 5-pound weed Walleye, you’ll understand.
On this Fish’n Canada trip, Angelo and I caught a bunch of nice Walleye and Pike on bucktail jigs.
SWIMMING A JIG
I believe swimbaits were originally designed to be used for Largemouth Bass (please correct me if I’m wrong), but they excel with many other species as well. I love a swimbait on a jighead. So do Walleye.
The “normal” swimbait retrieve is casting and reeling, much like a spinnerbait or a crankbait. Soft swimbaits, however, are designed like a jig. So… why not jig ’em?
Using a smallish to medium-sized swimbait (3.8 – 5 inches long) in both slender and shad body styles can be a beast of a presentation for Walleye—and there’s no live bait to worry about!
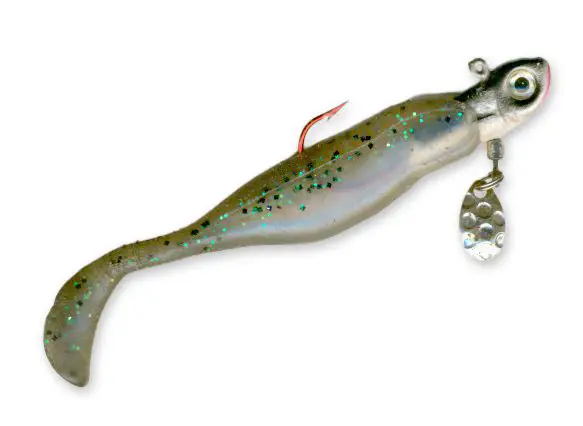
My main swimbait Walleye retrieve is a combination of a cold water and warm water presentation. I like to lift the bait somewhat aggressively, but I also want to take advantage of the swimming action. I do that by visualizing the drop of the bait and the swaying of the tail. Keeping the line taut is the key; it slows everything down. I’ll often interrupt the fall with the rod to impart a bit of extra action—just a flick or two, but very subtle. I let it hit bottom on about 95% of my jigs. Every now and then, I swim it a foot or so off of bottom if things aren’t working.
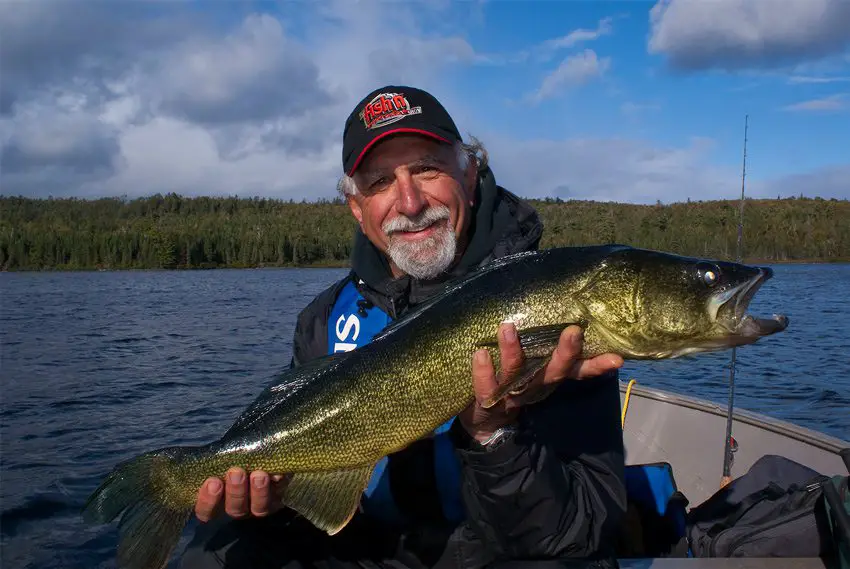
When jigging a swimbait, you’ll either feel the fish on the lift from the bottom or as the swimbait is receding towards the bottom. If the fish hit on the dropping bait, you will usually feel that distinctive tick on your line. Reel down and hit ’em hard!
Here are a couple of good swimbait choices:
Keitech Swing Impact 4 1/2 inch
Gary Yamamoto Zako Swimbait 4 inches
SNAPPING AN ICE JIG OR RATTLE BAIT WHILE CASTING
ICE JIGS
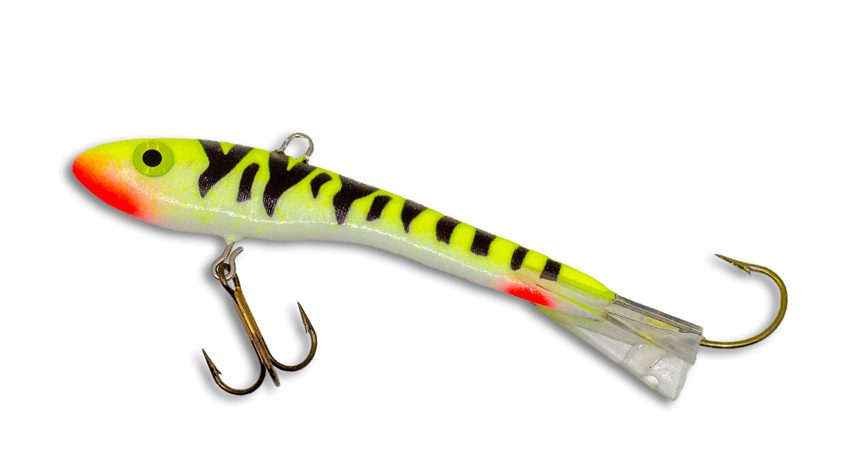
Ice fishing jigs are an extremely effective tool in the open water. It’s too bad that they are classed as an ice fishing lure because that takes away from the all-round effectiveness of this bait.
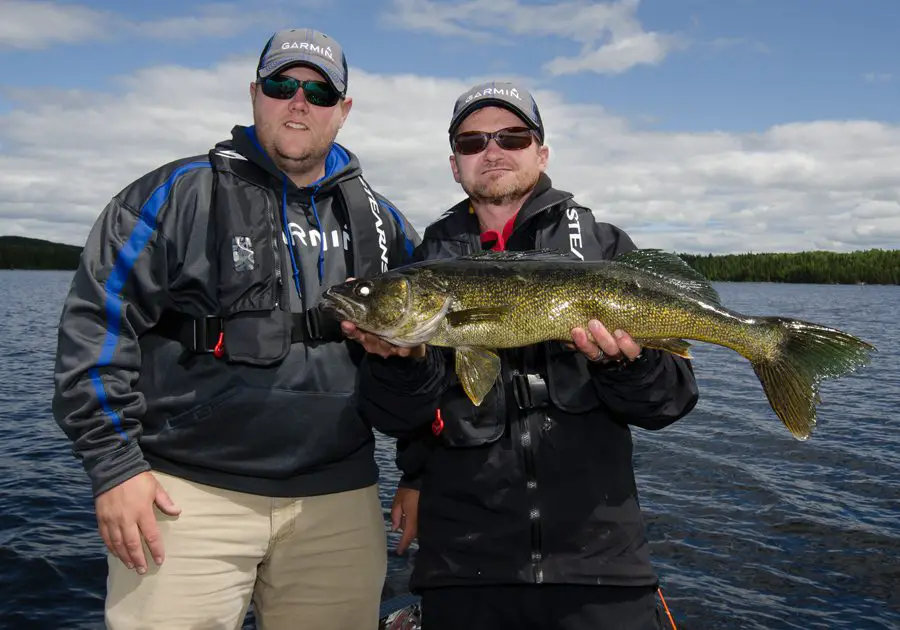
As weird as they look, they honestly need to be in your kit. I always carry an assortment ready to go. Check out this Fish’n Canada episode, when our biggest Walleye of the trip came on an ice fishing jig.
I like to use either 10-, 12- or 15-pound braid as my main line and tie on a five-foot or longer, 10- or 12-pound fluorocarbon or monofilament leader. If the water is tea coloured, stained or dingy, I’ll go with straight braid.
The key with the all or most braid is a soft-tipped rod. A 6’8” to 7’ medium-fast or medium-light rod is a great choice. It’s got a nice backbone in the mid-section (medium action), allowing a long smooth bend (parabolic) and a fast or soft tip (fast or light action).
The retrieve is similar to the pop-jigging described above. I cast the bait out, let it hit bottom (it never takes long; these puppies drop fast) and then snap it quickly, allowing the jig to drop on a slack line. The action this bait takes on with this retrieve is insane. It’s all over the place—totally erratic.
As I said in the vertical section, this is a great bait for directly below the boat when the fish show up on your fishfinder.
RATTLE BAITS
The sleeper bait for this entire section is the rattle bait.
Normally associated with bass (as is the swimbait above), the rattle bait can be a kick-ass Walleye catcher. Use it the same way as the ice jig (with the same set-up as well). That crazy rattling sound can drive Walleye absolutely nuts. (It works under the ice, too.)
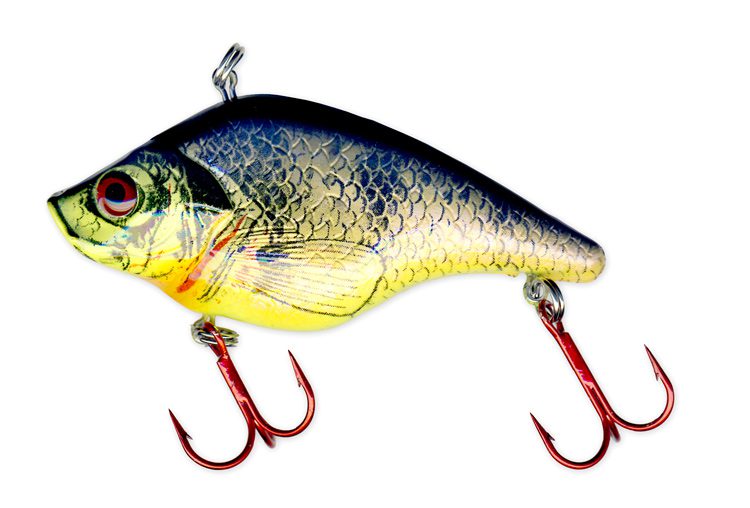
Here’s an underrated jigging lure called the Shiver Minnow.
For rattle baits, try these.
CONCLUSION
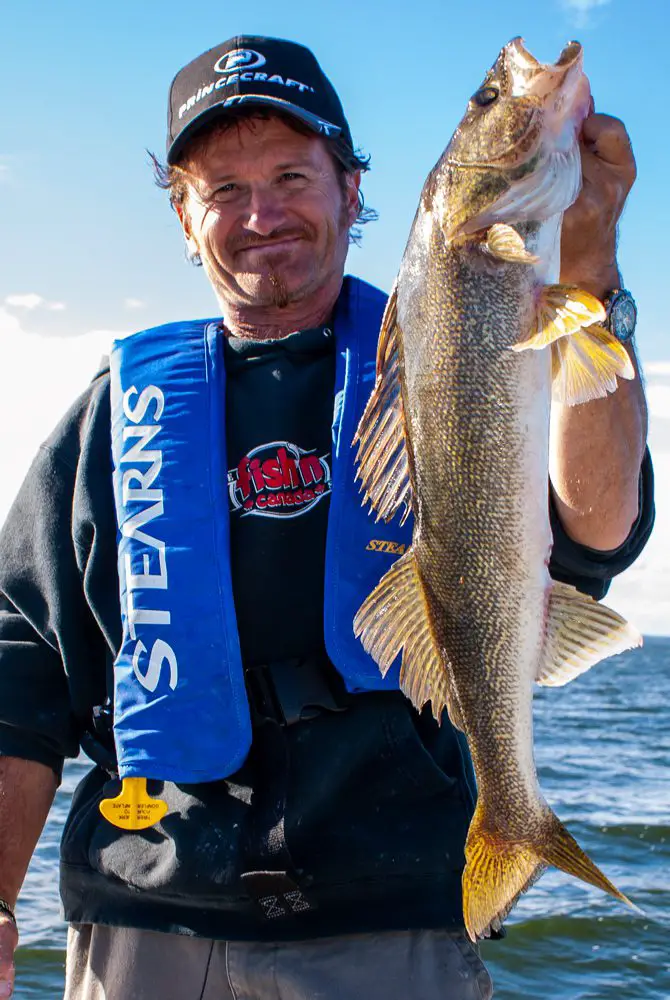
Don’t be the foolish kid that I once was and think that the jig is some ridiculous, simple contraption that has way too much hype around it.
The jig was, is, and always will be one of the best all-round fish catchers in the world.
